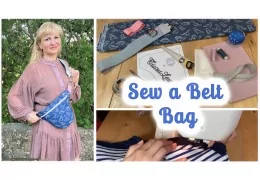
Hello and welcome to this creative tutorial for Christmas! Today, we are going to make a fabric star, perfect for...
Tutorial: Making a Pie Bag
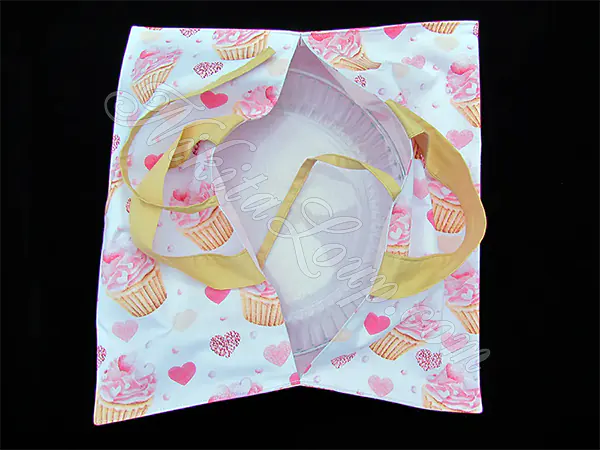
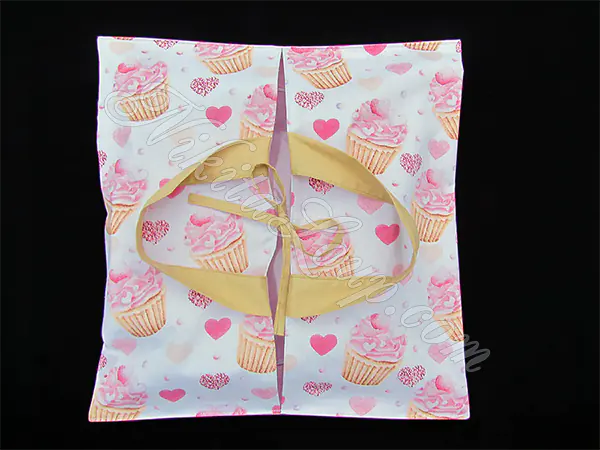
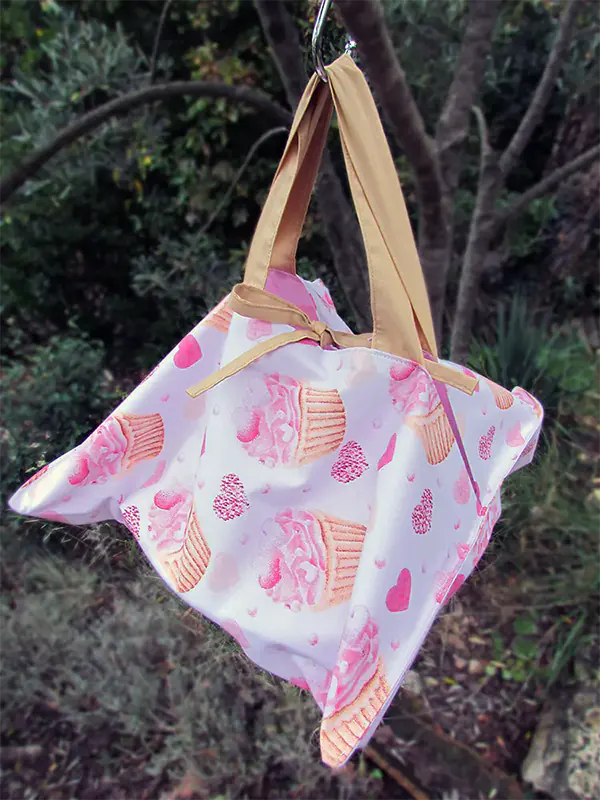
Dear friends, we would like to offer you a very useful idea, a tutorial to help you sew a Pie Bag.
Recommended fabrics and supplies:
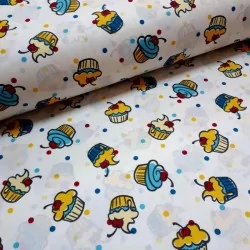
- Outer fabric: printed cotton from wolffabrics.com 43 x 81cm
- Lining: Cotton or other fabric 43 x 81cm
- Handles and small ties to close the bag: 28 x 33cm
Our shop offers a large collection of fabrics. Click below to discover it!
1) Download the free sewing pattern
This pattern is drawn on an A4 sheet of paper and includes the margins for the seams.
Click here to download the sewing pattern!
2) Cut out the shapes using the diagram
(Photo 1)
• Cut out 1 piece of fabric for the outside 43 x 81cm.
• Cut out 1 piece of fabric for the lining 43 x 81cm.
• Cut out 2 pieces of fabric handles 10 x 33cm.
• Cut out 2 pieces of small ties to close the 4 x 30cm fabric bag.
3) Make the handles and small ties to close the bag
Fold the reverse side of the handle pieces in half and sew (photo 2). Then turn the pieces right side out, iron them and topstitch the edge (Photo 3).


Fold the small ties in four with an iron and make a seam (Photo 4).

4) Assembling the pie bag
Sew the handles and small ties onto the piece of fabric intended for the outside of the shorter sides on the right side. The small ties should be placed right in the middle and the handles 12cm from the end (Photo 5 & 6).


Place the lining piece on the right side of our project, pin them together and topstitch on the shorter sides (Photo 7). Then turn the project right side out, press and topstitch in the same place 1 or 2mm from the edge (Photo 8).


Now position the project with the inner part facing you and mark the middle of the rectangle. Then fold the sides over until the edges coincide with the centre we just marked. Then pin and stitch the open sides only 5mm from the edge (photos 9 and 10). Ideally, the two edges should be touching and not overlapping.


Turn the bag inside out, iron the sewn sides to flatten them and sew again on the same sides 1cm from the edge (Photos 11 & 12).


Turn the bag right side out. Thanks to this double sewing technique, we have a very clean inside and the edges do not stick together (Photo 13).

Iron the worked sides again to flatten them and topstitch again 1 or 2 mm from the edge (Photo 14 & 15).


-
And there you have it, the beautiful Tart Bag is well done!
