Hello and welcome to this creative tutorial for Christmas! Today, we are going to make a fabric star, perfect for...
Tutorial: Making a mask with a seam in the middle
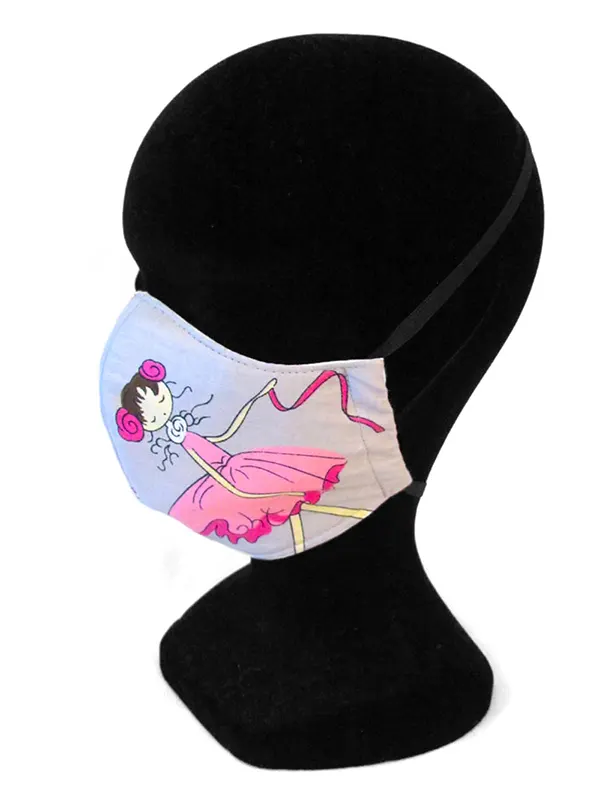
Are you looking for how to sew a mask? I would like to share with you the tutorials of 2 models of masks I make, the pleated model and the model with a seam in the middle. Both models provide an effective barrier and protection. This tutorial will help you learn how to make a mask with a seam in the middle. The tutorial on how to make the pleated mask will be available soon. It will be up to you to choose the model you wish to sew. I wish you success with your beautiful masks !
The mask with a seam in the middle
Recommended fabrics for this model :
- Outer fabric: 100% Cotton 130g/m² or 125g/m², a mix of cotton and polyester will also do well.
- Lining: 100% Cotton 130g/m² or 125g/m².
- Filter: fleece or fleece not too thick
Our shop offers a wide collection of fabrics. Click below to discover it !
Download the sewing pattern on our site
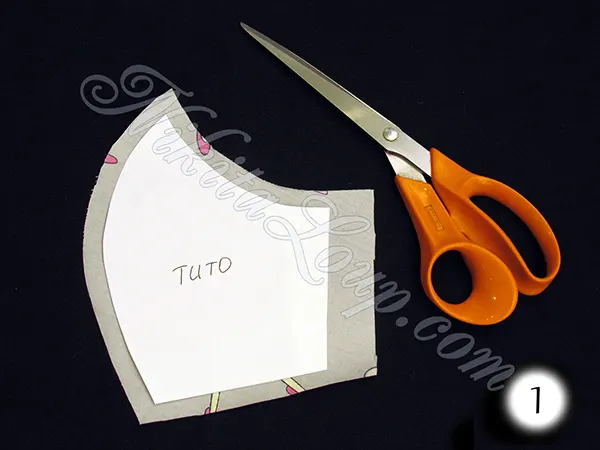
This pattern is drawn on a full size A4 sheet of paper but be careful, it does not include margins for the seams. You must therefore add 1cm of seam margins everywhere.
Click here to download the sewing pattern !
Cutting with the pattern
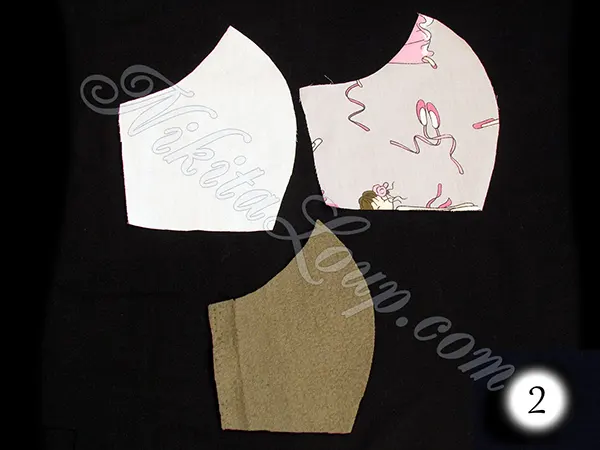
(Photo 1 and 2)
- Cut 2 pieces of fabric for outdoor use, adding 2.5cm to the short sides for the elastic.
- Cut 2 piece1s of fabric for the lining.
- Cut 2 pieces of fleece to be used as filters.
Proceed to the assembly stage
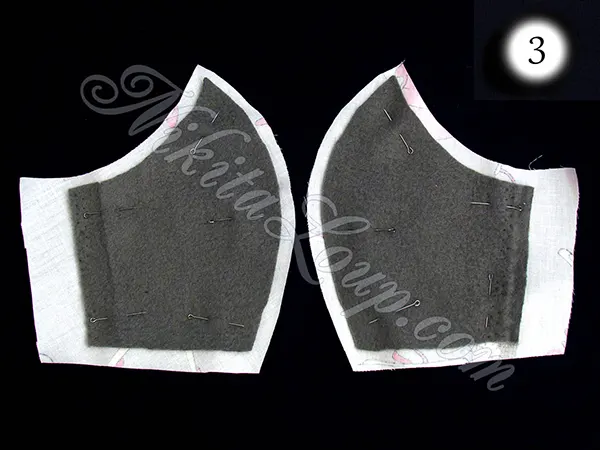
Pin the filter to the outer fabric pieces on the reverse side of the outer fabric (Photo 3).
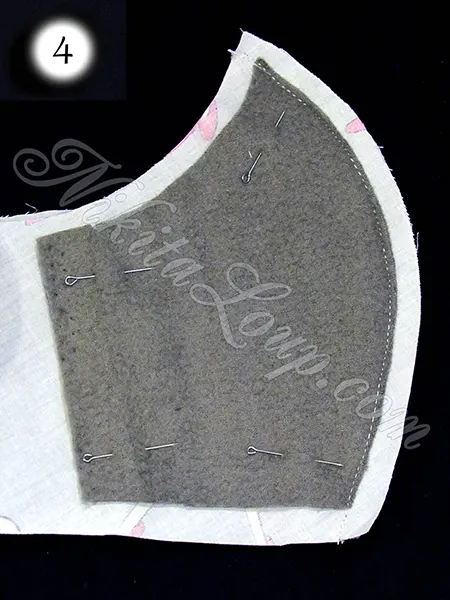
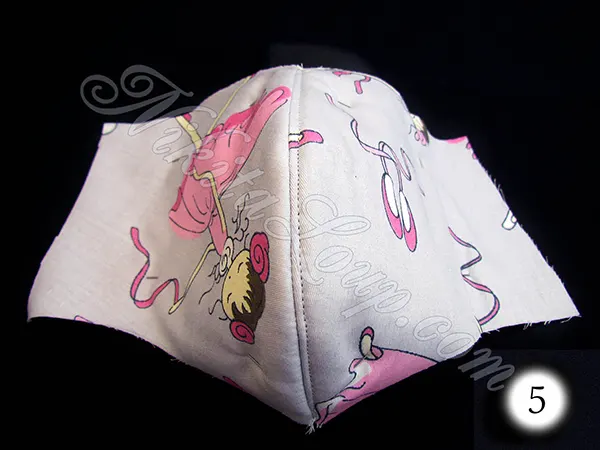
Then assemble them by making a seam in the middle of the mask. Sew the 2 pieces of outer fabric together with the 2 pieces of fleece (Photo 4) and then make the finishing seam (Photo 5).
 |
|
 |
Assemble the 2 pieces into a lining.
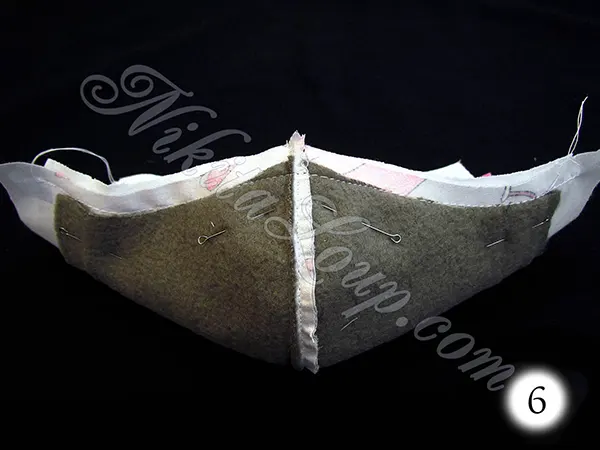
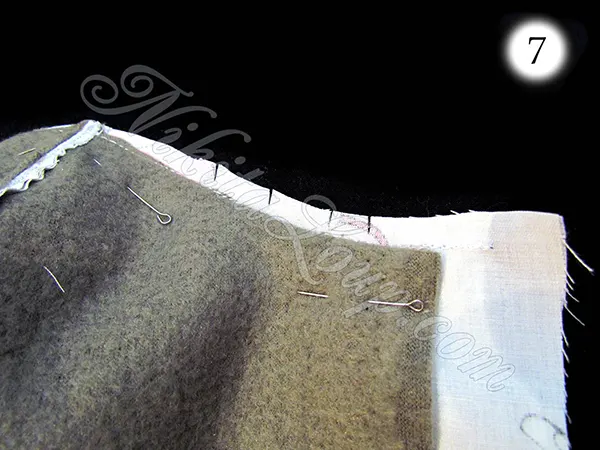
Sew the outer fabric with the lining on the top side of the mask (Photo 6) and make notches on the seam allowance to have a better fall of the curve (Photo 7).
Add a nose clip to your mask (optional)
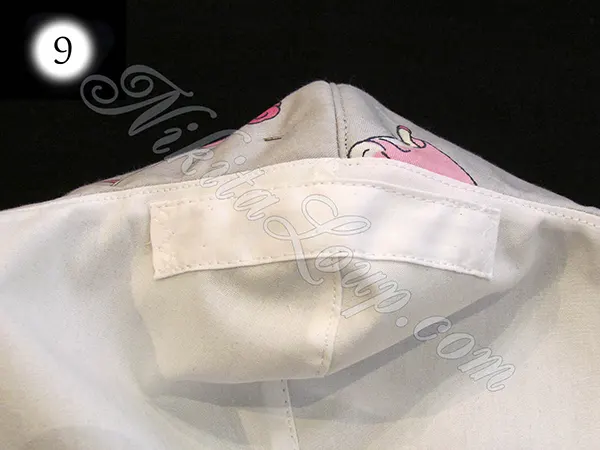
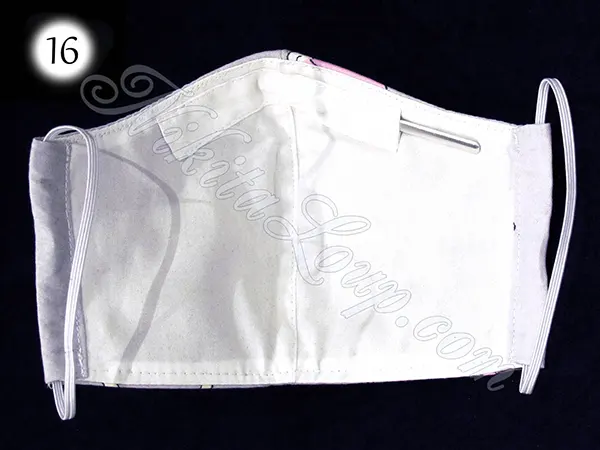
Here's a little tip, if you want to integrate the nose clip into the mask. You can then remove it for washing. I advise you to sew a small tab on the lining (Photos 8 and 9) :
- Cut a rectangle of about 4 x 11cm, work the small sides with zigzags and fold the long sides with the help of an iron.
- The finished flap should measure approximately 1.5 x 9cm and should be sewn onto the lining at the top of the mask.
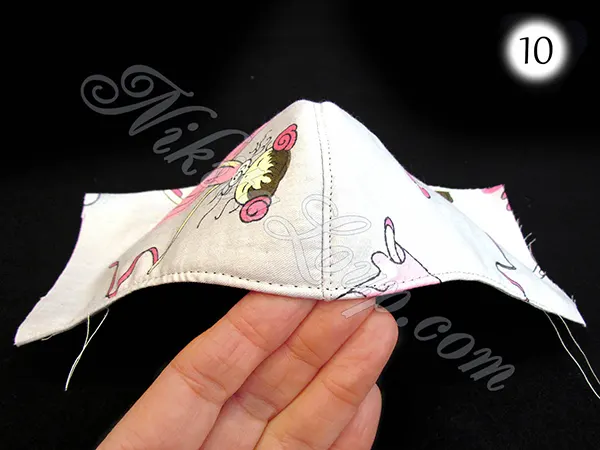
- Make the finishing seam on the top side of the mask (Photo 10).
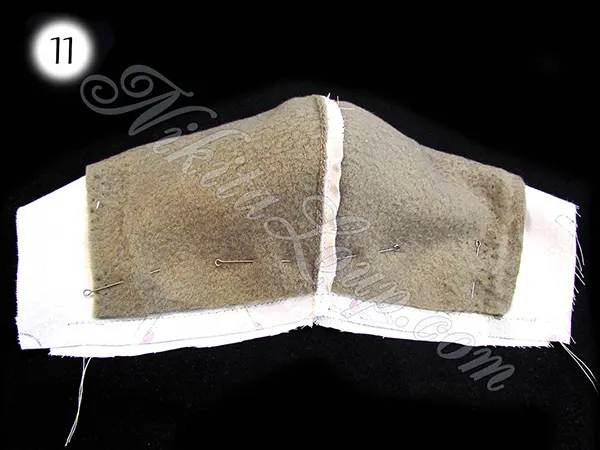
- Sew the bottom of the mask together (Figure 11).
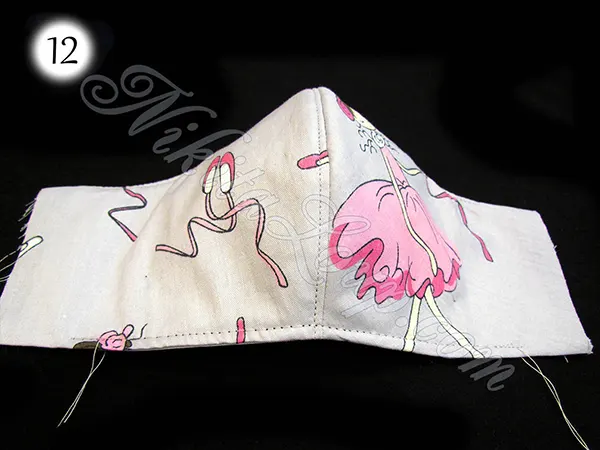
- Turn the mask right side out and make the finishing seam on the bottom side of the mask (Figure 12).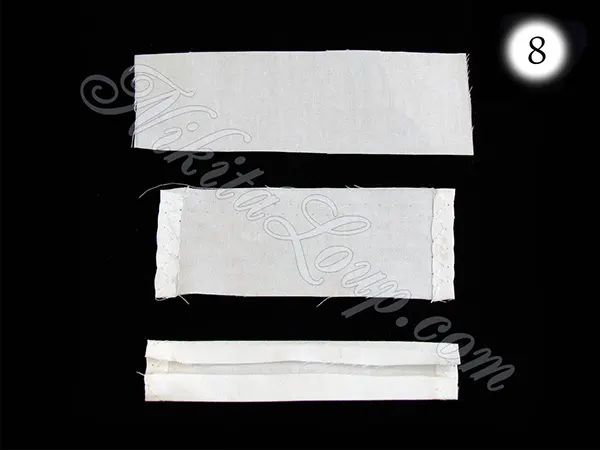
Lastly, the finishing stage
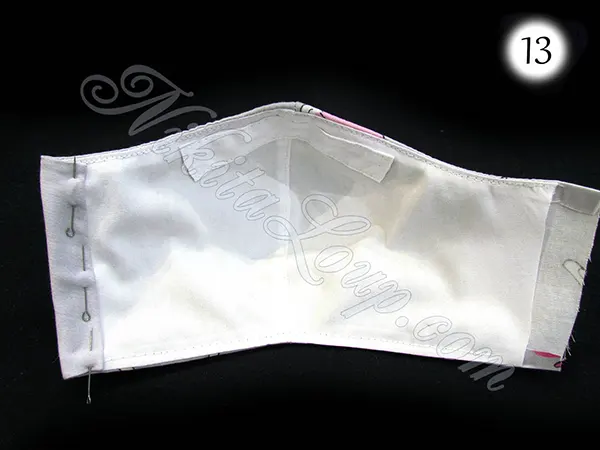
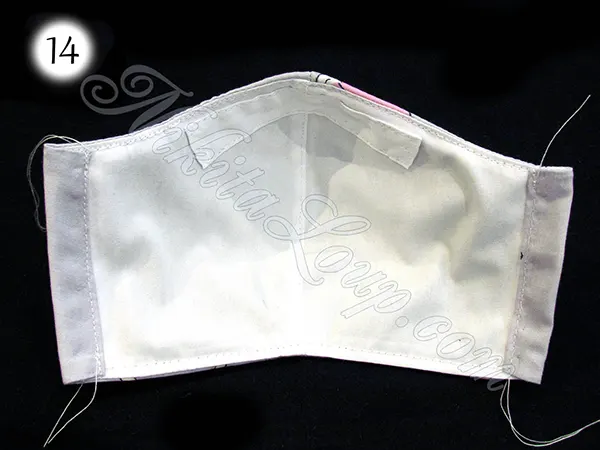
Fold the margins of 2.5cm on the small sides leaving a 1.5cm loop so that you can slide the elastic and then fix it with the seam (Photos 13 and 14).
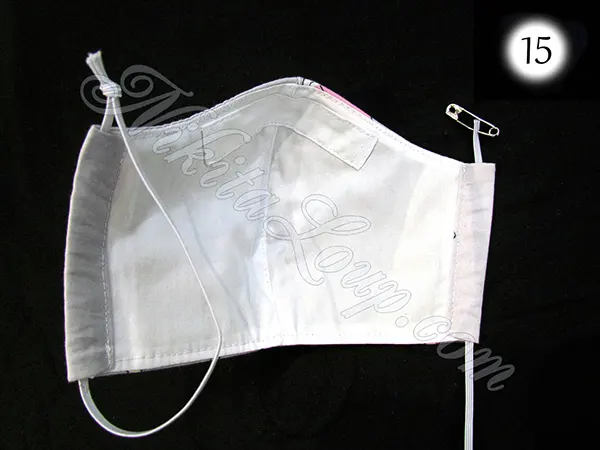
Press all the seams of the mask tightly and insert an elastic band (Photo 15).
Cut the elastic into 2 pieces and slide each one into the loops with a safety pin. Then, tie the sides of the elastics by making small knots that will be slipped into the loops to hide them.
The different sizes of elastic required for your mask :
- For men: 62-67cm,
- For women or teenagers: 56-58cm,
- For children: 48-49cm.
Slide the nose clip into the leg (photo 16).
And there you have it, your pretty mask is well done!
