Hello and welcome to this creative tutorial for Christmas! Today, we are going to make a fabric star, perfect for...
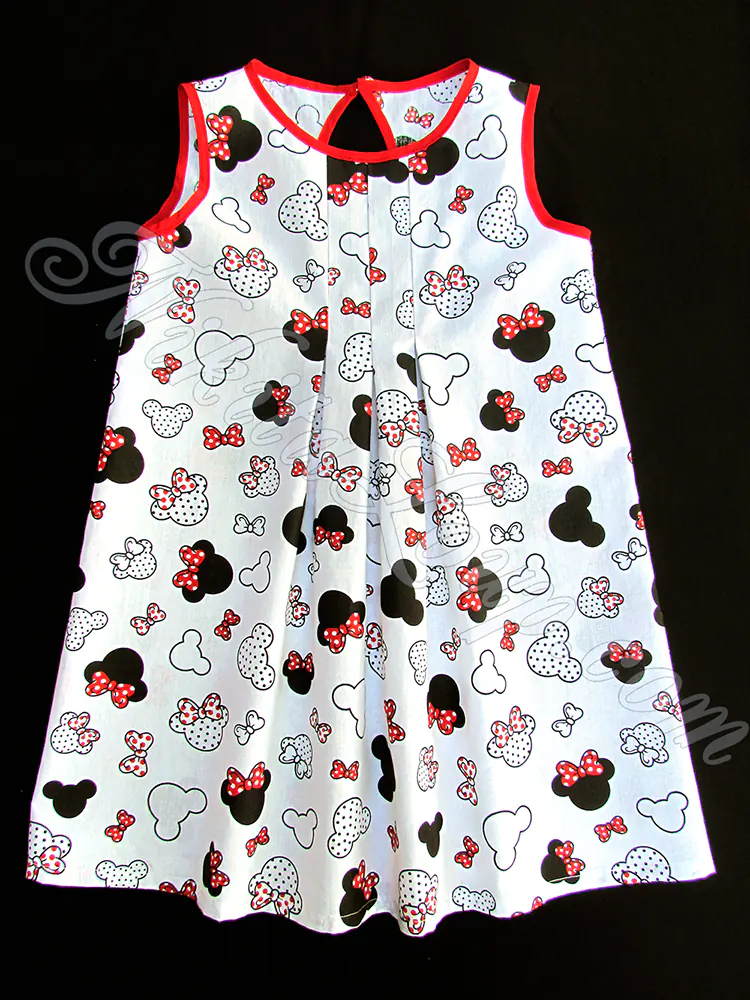
Tutorial: Making a Child's Dress with Minnie Mouse
Dear sewers, we would like to offer you a tutorial to help you sew a little dress for your little girls, so that they make the most of summer!
Sizes: 86, 92, 98, 104 and 110 which correspond to the heights of young girls.
Recommended fabrics and supplies:
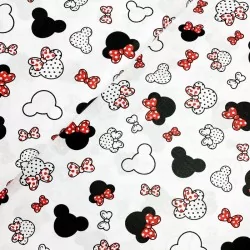
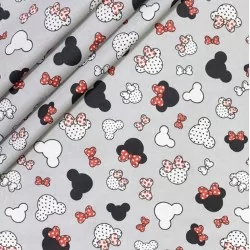
- Fabric: Printed cotton from wolffabrics.com
- width 120 or 160cm - Sizes 86 and 92 – 60cm, Sizes 98 and 104 – 65cm, Size 110 – 70cm
- A bias: Sizes 86 and 92 – 1.2m, Size 98 – 1.3m, Sizes 104 and 110 – 1.4m or a piece of plain color fabric 50 x 80cm from wolffabrics.com to make a bias by either mem
- A button
Our shop offers a large collection of fabrics. Click below to find out!
1) Download the sewing pattern for free
This pattern is drawn on an A4 sheet in real size, but be careful, it does not include margins for the seams. You must therefore add 1cm of margins (surplus) on the side seams and shoulders. At the bottom of the dress, for a hem you need 1.5 – 2cm. As you are going to braid the neckline and the armholes, there is no need for surpluses at this level.
Click here to download the sewing pattern!
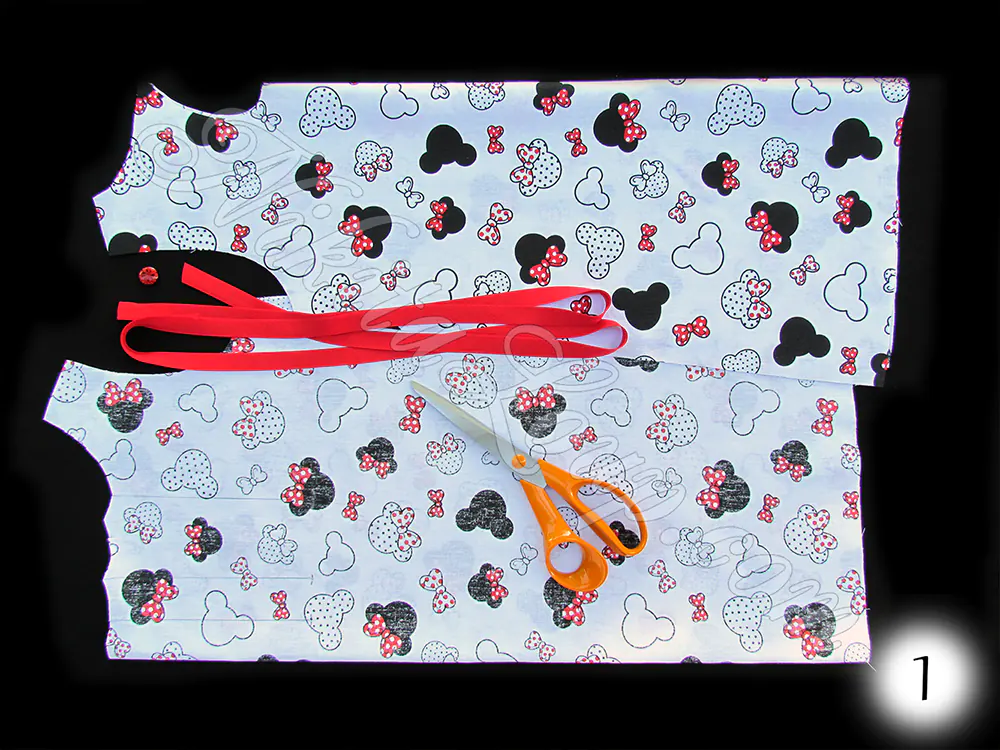
2) Cut the shapes with the template
(Picture 1)
- Cut 1 piece – Front, folding the fabric in half.
- Cut 1 piece – Back, by folding the fabric in half.
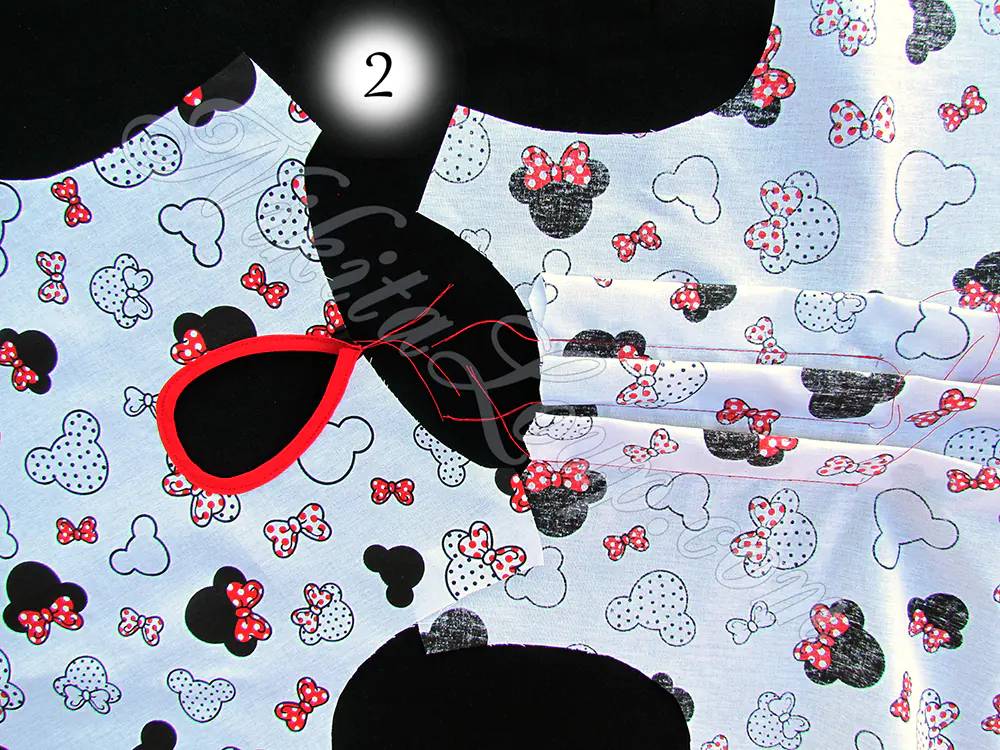
3) Making the folds
Close each front pleat by overlapping the outer pleat lines, right side inside. Sew the pleats, from the top edge of the front to the arrow. Lay the folds according to the arrows, iron.
Ganser drop (cweld the bias on the drop) on the part of the back (Picture 2)
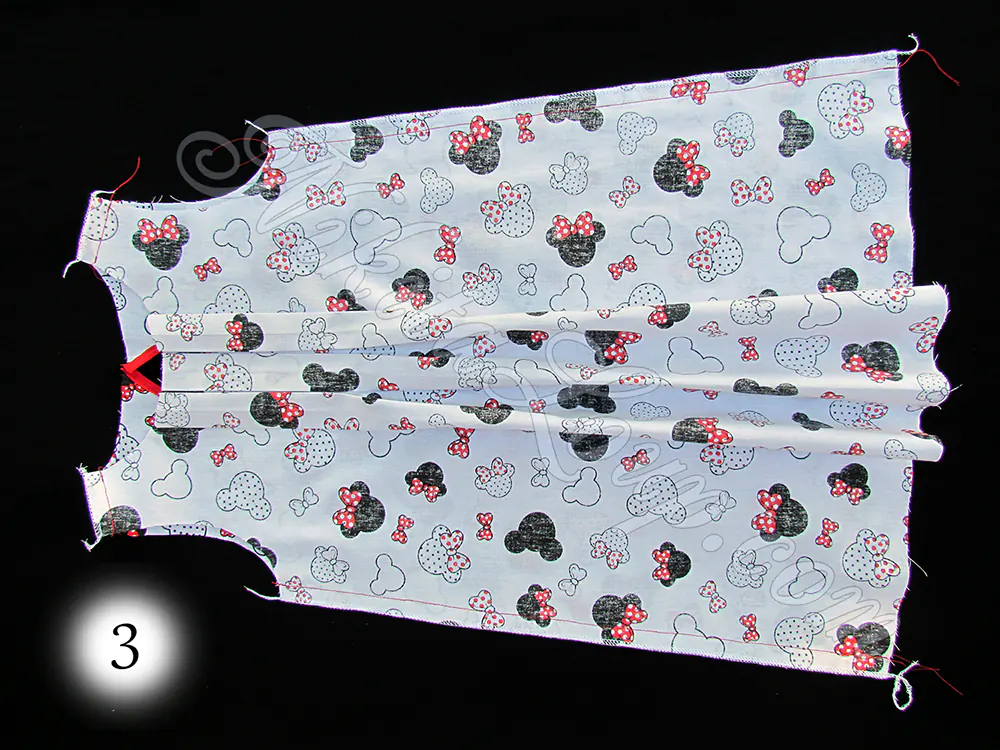
4) Assemble the dress
Stitch the side seams and shoulder seams of the dress (Photo 3).
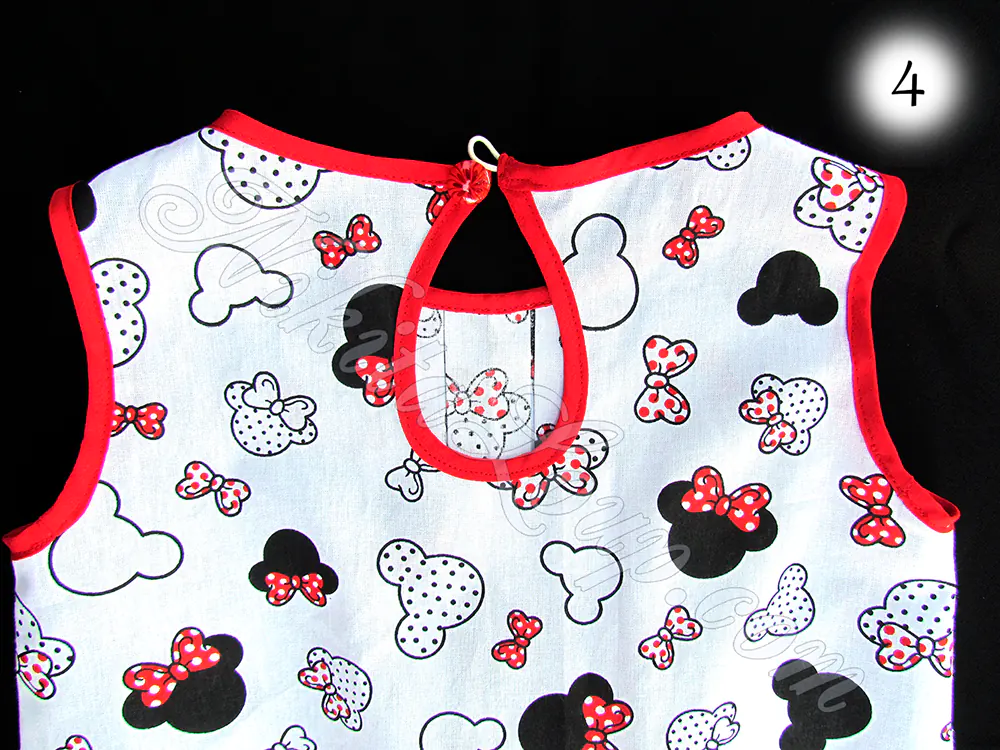
Sew the bindings on the neckline and armholes. Make a buttonhole and sew a button (Picture 4).
Then hem the bottom of the dress.
-
Look! What a cute dress you made with us!
Congratulations!
