Hello and welcome to this creative tutorial for Christmas! Today, we are going to make a fabric star, perfect for...
Tutorial: Making a Native American Tipi
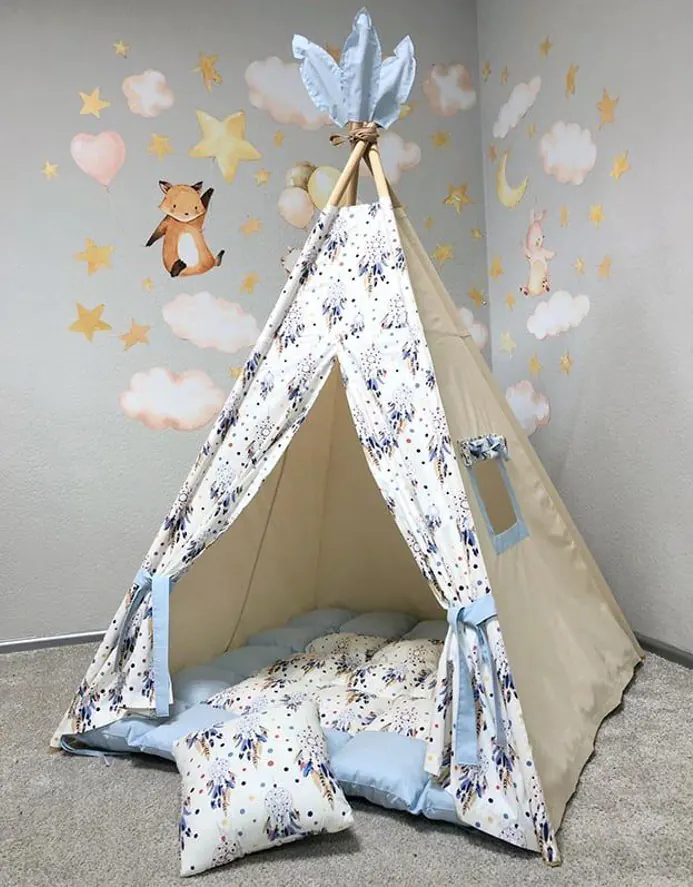
Children today hardly play "Indians" anymore, and yet if you make them a real teepee, the excitement and joy of such a hut will be abundant. And considering that the tipi can easily be disassembled and reassembled in a new place (outdoors, in the countryside, in nature), time and effort will not be wasted on such a beautiful work.
Recommended fabrics and supplies:
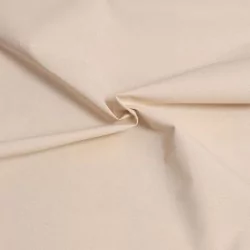
- Plain cotton fabric from wolffabrics.com 3.5 m long and 160 cm wide
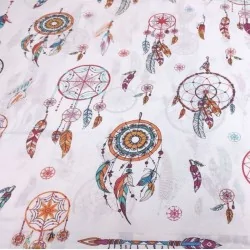
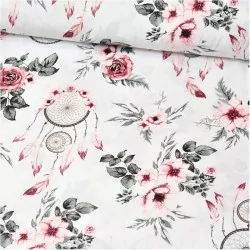
- Printed cotton fabric from wolffabrics.com 1.6 m long and 160 cm wide (only if you want to make the entrance room in another color)
- Strip of fabric 44 x 173cm in plain or printed cotton from wolffabrics.com
- 2m ribbon
- 4 Wooden or metal sticks, diameter 20-25 mm, 2m long
Our shop offers a large collection of fabrics. Click below to find out!
1) Download free sewing pattern
This diagram is drawn on an A4 sheet and includes the margins for the seams.
Click here to download the sewing pattern!
2) Make the cutouts for the Tipi
If you want to make your teepee entirely in plain color, cut the fabric into 5 pieces according to the plain cotton diagram (Drawing 1).
If you want to make the entrance piece of your teepee in printed cotton, cut the plain fabric into 3 pieces according to the diagram and 2 printed cotton entrance parts (Drawings 1 and 2).
Then, cut 4 strips of fabric 11 x 173cm for the sticks (Drawing 1).
3) Preparing the entry part
Assemble the 2 entrance parts, lay them on top of each other and sew them together 30cm from the top. Regarding the sides that remain unsewn, fold them separately and make hems (Drawing 2).
Cut the ribbon into 4 pieces and sew them on the two outer sides of the entrance piece.
Using these ribbons, you can tie the 2 entrance parts.
4) Assemble the Teepee
The tipi is supported by four wooden sticks, which are inserted into the sewn covers on the main tipi parts. So, fold the 4 strips for the sticks in half and sew them on the main pieces on the right side of the fabric. To prevent the poles from damaging the floor, the lower part of the cover can be sewn.
You can make a small window on one side of your teepee.
Assemble the entrance piece and the 3 other main parts of the teepee (Drawing 3).
Insert the poles into the covers.
To decorate the teepee, you can make garlands of fabric scraps or install light garlands. You can also add lace, ribbons, feathers and many other fantasies.
-
Look what a magnificent tipi you made with us!
Congratulations !
