Hello and welcome to this creative tutorial for Christmas! Today, we are going to make a fabric star, perfect for...
Blog categories
Search in blog
Photo gallery
-

Wolf Fabrics Shop
-

Machine à coudre de collection
-

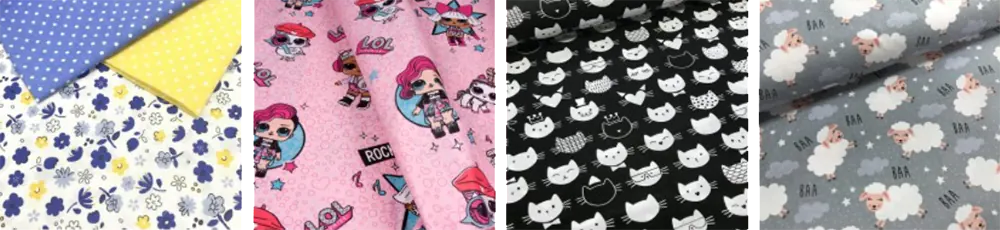
Dungaree dress and LOL dress in a lavender field.
Latest posts
-
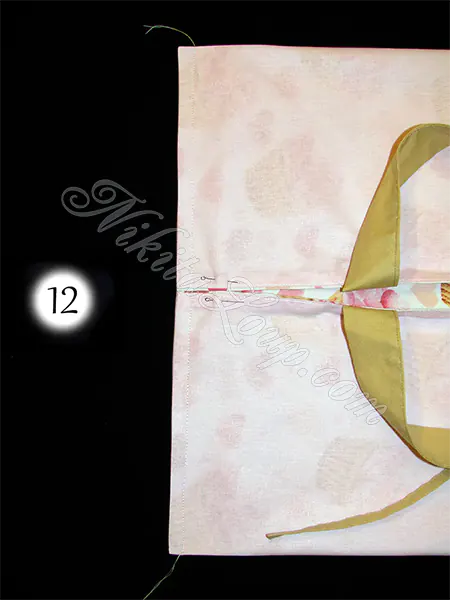
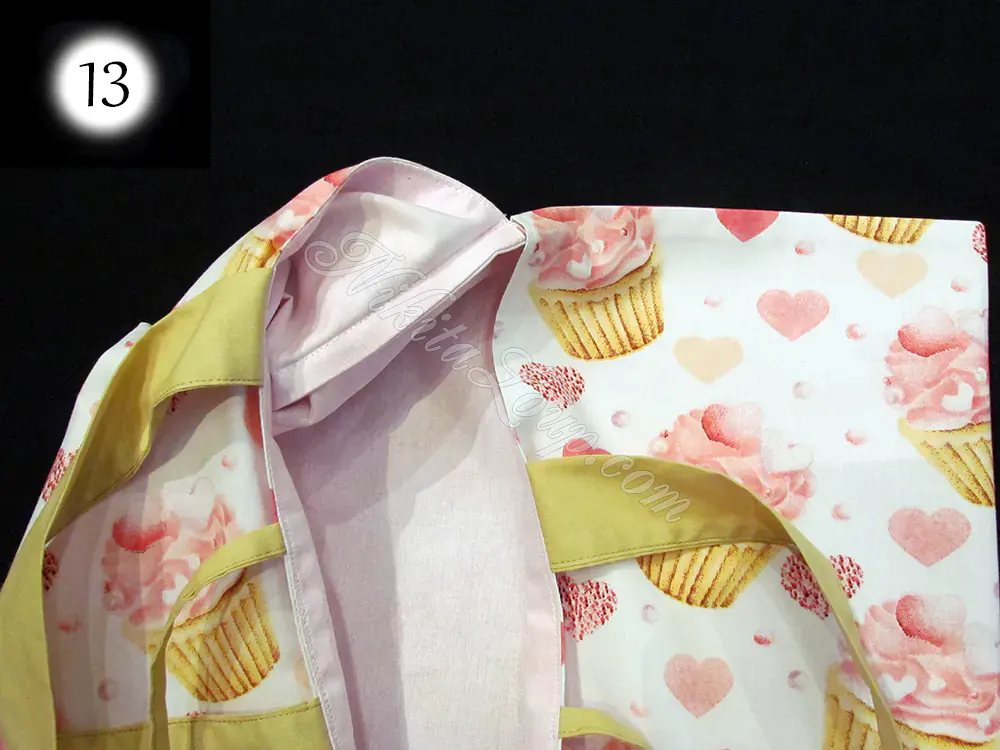
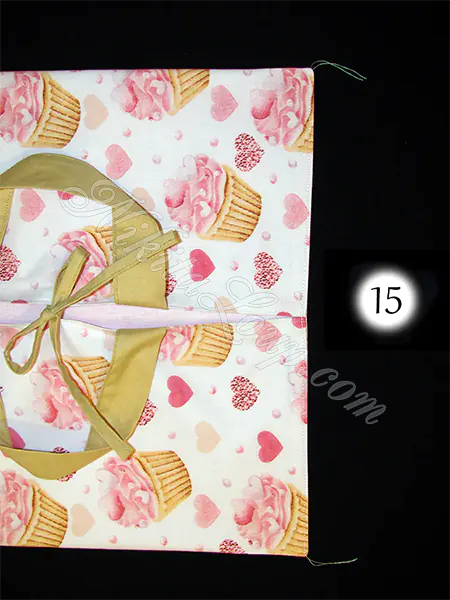
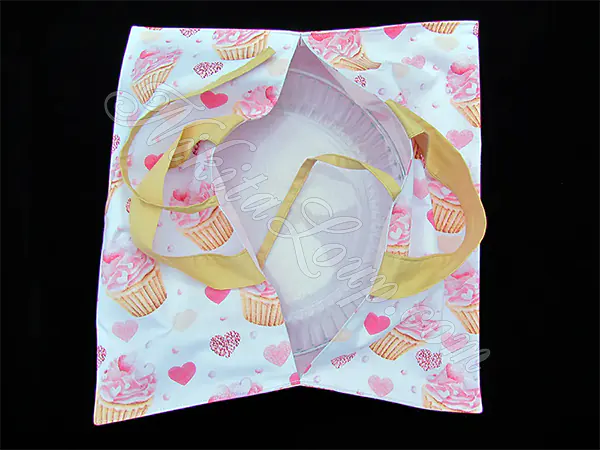
 Christmas Star Sewing TutorialRead more
 -
 Christmas Tree Sewing TutorialRead more
Welcome to this festive Christmas special tutorial! Today, learn how to create a beautiful fabric Christmas tree,...
-
 Sewing Tutorial Footed Baby PajamasRead more
Welcome to our tutorial on sewing a cute baby onesie pajama! Whether you are a novice in sewing or an experienced...
-
 Tutorial to sew a plush Halloween pumpkinRead more
Welcome to this special autumn and Halloween sewing tutorial! Today, we're showing you how to make a pretty pumpkin,...
-
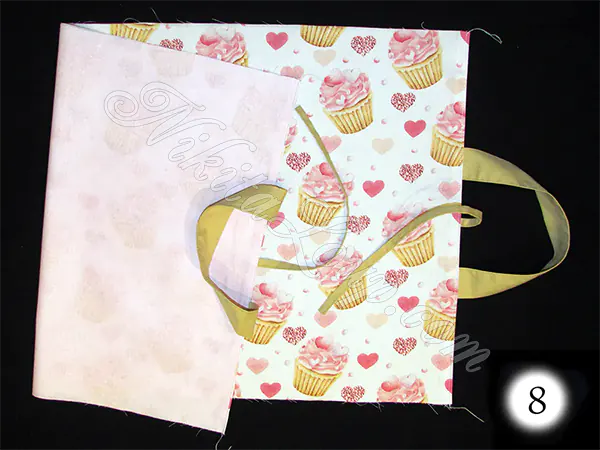
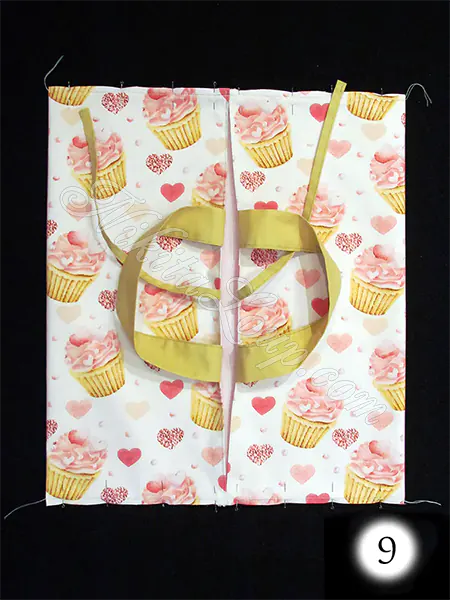
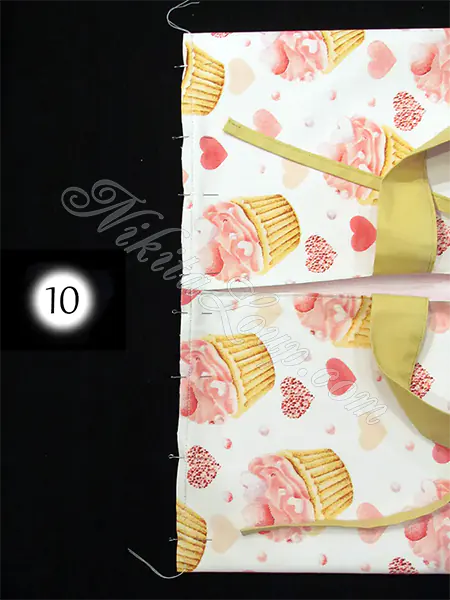
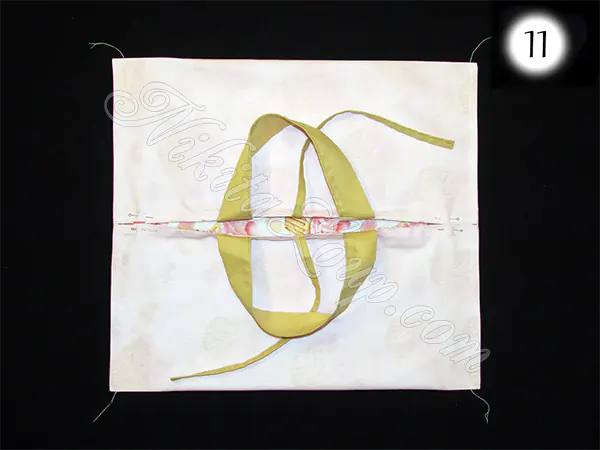
 Tutorial Sew a Belt BagRead more
Welcome to our tutorial for making a trendy and practical fanny pack. This project is perfect for sewers of all...