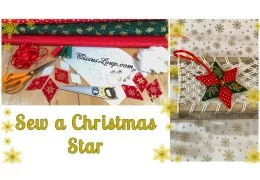
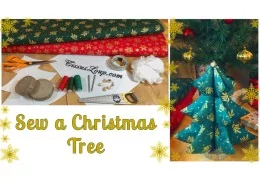
Hello and welcome to this creative tutorial for Christmas! Today, we are going to make a fabric star, perfect for...
Tutorial: Making a child's dress
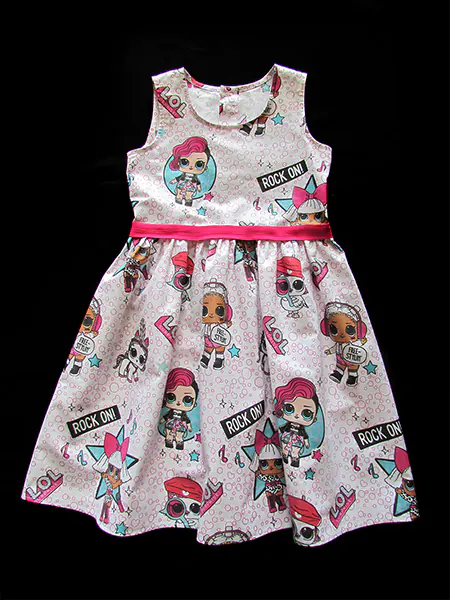
Dear friends, I want to offer you a tutorial to help you sew a beautiful dress for your girls, to make them happier!
Sizes: 104, 110, 116, 122 and 128 which correspond to the girls' statures.
Recommended fabrics and supplies:
- Fabric: Printed cotton from wolffabrics.com
- - width 160cm - 1m for all sizes
- - width 120cm - Size 104 - 1m, Size 110 - 1,20m, Size 116 - 1,30m, Size 122 and 128 - 1,50m
- Fabric for the belt
Our shop offers a large collection of fabrics. Click below to discover it!
1) Download the free dress sewing pattern
This pattern is drawn on an A4 sheet of paper in real size, but please note that it does not include the margins for the seams. So you need to add 1cm of seam allowance everywhere, except at the bottom of the dress, for a hem you need 1,5 - 2cm.
Click here to download the sewing pattern!
2) Cutting out the shapes with the pattern
(Photo 1)
-
Cut out 1 piece - Front of the bust, by folding the fabric in half.
-
Cut out 2 pieces - Back of the chest.
-
Cut out 2 pieces - Skirt: front and back, by folding the fabric in half.

3) Assembling the dress
Stitch the shoulder seams of the bust (Photo 2).
Cut the neck bias 4 x 50cm and the 2 armhole biases 4 x 40cm including surplus (Photo 3).


Sew the bias on the neckline and armholes to the right side of the fabric, then fold and turn the bias to the wrong side of the fabric and stitch. Also fold over the back piece for buttons and buttonholes (Photo 4 and 5). You can sew the bias strips onto the right side of the fabric, in which case the seam allowances on the neckline and armholes must be removed.

-
Stitch the side seams of the bust.
Back slit : Cut a slit of 11cm in the back of the skirt at the top centre. Cut the bias 4 x 25cm and work the slit with this bias (Photo 6 and 7).
Stitch the side seams of the skirt (Photo 8).


Gather the top of the skirt and assemble with the bust (Photo 9).
Then hem the bottom of the skirt, make the buttonholes on the back of the bust and sew on the small buttons (Photo 10 and 11). On the tutorial the buttonholes are drawn for size 104!


You can make a small belt in another colour than the dress, to make it even more beautiful, this is optional. The belt on the dress in the photo is 2.5cm wide.
Take a look! What a beautiful dress you have made with us! Congratulations to you!
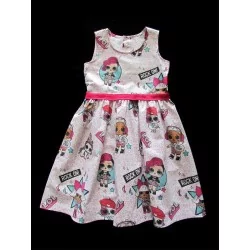
You can also buy this dress directly by clicking on the image below.
Related products
-
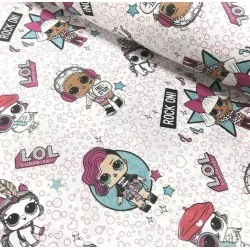
Fabric Lol Surprise white background
Price: $3.64This LOL Surprise fabric is perfect for all fans of the famous doll brand.... -
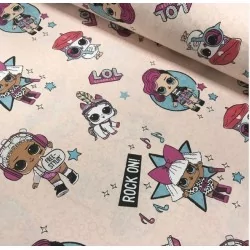
Fabric Lol Surprise powder pink background
Price: $3.64This cotton poplin fabric with Lol Surprise characters is perfect for fans of... -
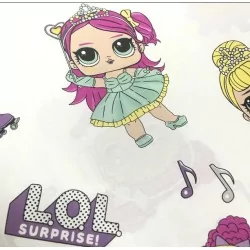
Fabric LOL Surprise large size white background
Price: $7.56This cotton poplin fabric is ideal for creating accessories and clothing for... -
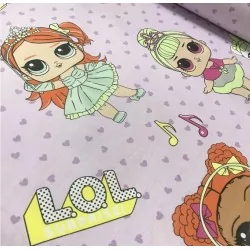
Fabric LOL Surprise large size mauve background
Price: $7.56This cotton poplin fabric is ideal for sewing girls' clothing. The purple... -
Child Dress LOL Surprise! Dolls
Price: $38.07Child Dress 100% cotton poplin "LOL Surprise!" print Dolls Sizes: 98, 104,... -
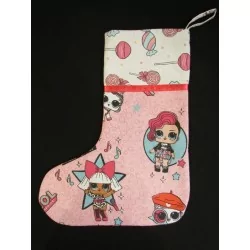
Christmas Socks LOL Surprise!
Price: $13.05Christmas Socks "LOL Surprise!" Size: 37 x 29cm Composition: 100% Cotton...
Related posts
-
 Tutorial: Making a mask with a seam in the middle
Posted in: Sewing tutorials03/01/2021Looking for how to sew a mask? I would like to share with you the tutorials of 2 mask models that I make, the pleated...Read more
 -
 Tutorial : Sewing a pleated mask
Posted in: Sewing tutorials17/01/2021Do you want to easily sew a mask that stands out from the rest? As promised, I have made a new sewing tutorial to...Read more
 -
 Tutorial: Making a panty shaped kit
Posted in: Sewing tutorials16/02/2021Dear friends, I would like to suggest a very funny idea, a tutorial to help you sew a panty shaped kit.Read more
 -
 Tutorial: Making a kitchen Apron
Posted in: Sewing tutorials05/04/2021Hello everyone! Here is our little creation dedicated to the kitchen, an apron which we will share the secrets of...Read more
 -
 Tutorial: A very original bag from old jeans and printed cotton
Posted in: Sewing tutorials16/05/2021Dear visitors, on the eve of our beloved mothers' day, we have a great gift idea. We would like to share with you the...Read more

