Hello and welcome to this creative tutorial for Christmas! Today, we are going to make a fabric star, perfect for...
Tutorial: Making a panty shaped kit
Dear friends, I would like to suggest a very funny idea, a tutorial to help you sew a panty shaped kit.
Recommended fabrics and supplies:
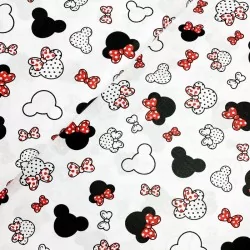
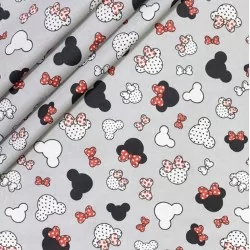
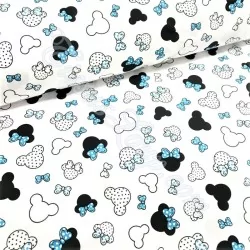
- Outer fabric: Printed cotton from wolffabrics.com 38 x 28cm
- Lining 1: Cotton or other fabric 38 x 28cm
- Lining 2: Fleece or fleece to shape your kit 37 x 27cm
- Zip 20cm
- Lace 72cm + small piece of ribbon
Our shop offers a wide collection of fabrics. Click below to discover it!
1) Download the sewing pattern for free
This pattern is drawn on a full size A4 sheet of paper but be careful, it does not include margins for the seams. You must therefore add 1cm of seam margins everywhere, except at the bottom of the panties where you must fold the fabric in half.
Click here to download the sewing pattern!
2) Cut out the shapes with the pattern
(Photo 1)
• Cut 1 piece of outdoor fabric, folding the fabric in half.
• Cut 1 piece of fabric for the lining by folding it in half.
• Cut 1 piece of fleece for the shape, folding it in half.

3) Assemble the kit in the shape of a panty
Sew the lace on the outside piece by placing it at a distance of 1.5cm from the edge (Photo 2).

Then sew the zip onto the outside piece (Photo 3 and 4). Sew all 4 sides of this piece (Photo 5).


Pin the fleece of the lining to the wrong side (Photo 6).
Assemble the 2 pieces, the outer piece of fabric and the lining with the fleece at the zip. Then sew the 4 sides of the lining with the fleece, but don't forget to leave a hole of about 12cm so that you can turn your project right side up (Photo 7).
Sewing kit assembly tutorial


Turn your kit upside down and close the hole by sewing (Photo 8).

-
And there you have it, your superb kit is well done!


